Setting up an integration to a webshop or ERP system
Table of contents
Introduction
Ongoing WMS provides integrations to many systems. Our listed integrations can be seen here. Many of these integrations may be setup by the administrator of Ongoing WMS, as well as through the client or goods owner login, for customers to logistics providers (3PL). In this guide we will show you the general procedure for setting up an integration, and we use an integration with WooCommerce as example.
If you can't find the integration you're looking for, or if you are unsure about how to configure settings, please contact your designated contact person at Ongoing. If you outsource logistics to a 3PL, please contact them for help with setting up the integration.
Intended audience
The intended audience for this article are administrators of Ongoing WMS, as well as customers to 3PLs using Ongoing WMS.
Adding an integration
General step by step procedure
The procedure for setting up an integration follows the same general steps:
- Gather all data required for the integration, such as passwords or API keys. The pieces of information which are required for each integration can be found on each integration's own page.
- Fill in the required information while setting up the integration and then create the integration. Each integration has their own set of settings which can be modified to your specific needs.
- Make inbound deliveries for all articles in stock.
- Turn on the stock balance sync if needed.
- Start working with orders in Ongoing WMS.
WooCommerce example
To illustrate how to set up an integration we have prepared an example with WooCommerce below. Note that the integrations differ in some respects, but the general set up is similar.
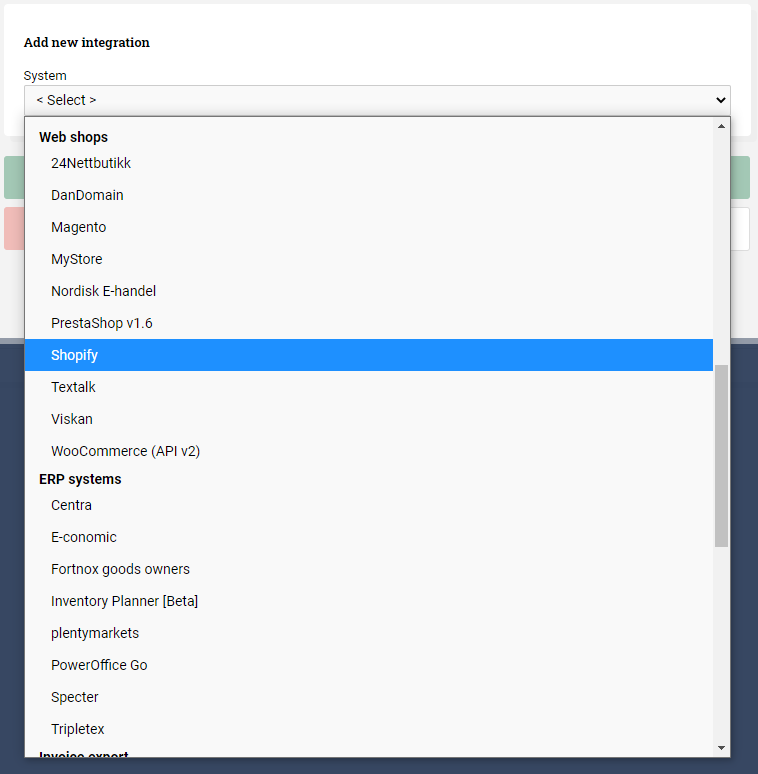
First, go to Administration ⇒ Integrations (or System ⇒ Integrations if you are logged in as a customer) in Ongoing WMS and click the button New integration. Then select WooCommerce in the list.
Then:
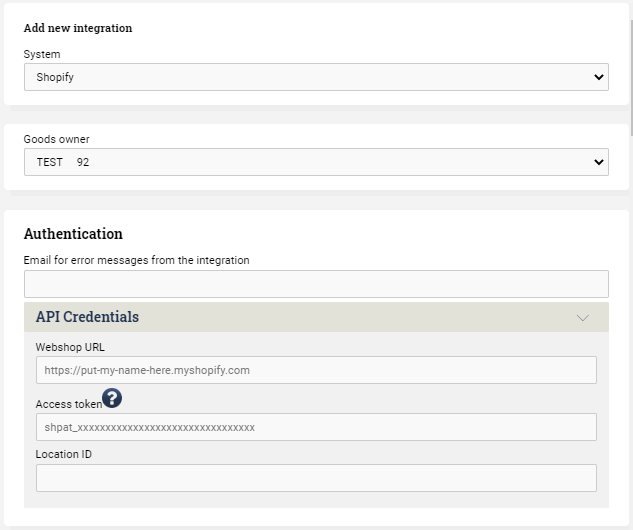
- Choose the correct goods owner in the drop list.
- Fill in the data required for the integration.
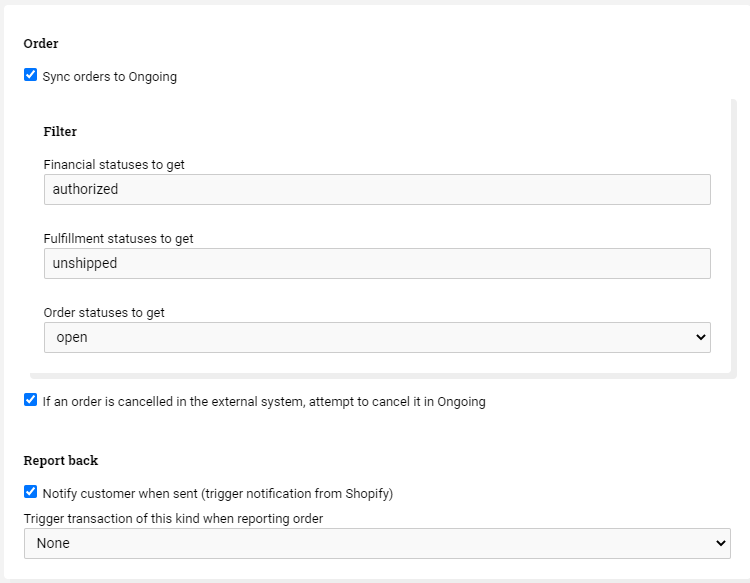
Then adjust settings for order sync, and number intervals for reporting back orders from Ongoing to WooCommerce as being delivered. There are default values for each filter, but they can be adjusted to make sure that all expected orders are transferred to Ongoing WMS.
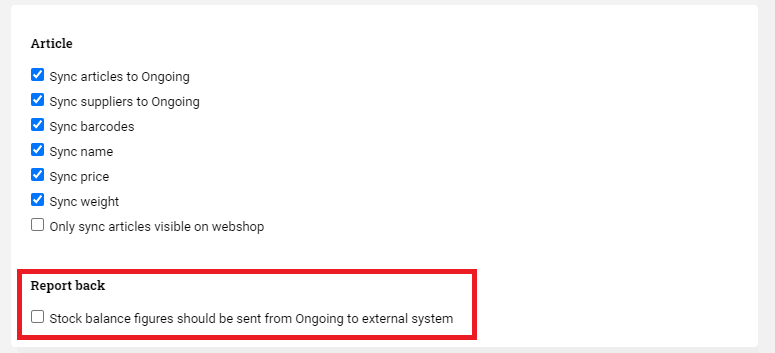
For the articles, you can choose which data to be transferred from WooCommerce, which acts as the master of the article register.
Regarding the stock balance sync: This should NOT be checked when setting up the integration for the first time.
The stock balance sync should only be activated later, when the stock balance is correct in Ongoing WMS. Otherwise, the integration will set all stock balances to 0 in WooCommerce.
The last set of settings may differ on a per integration basis, but it is good praxis to input an email address to quickly get notified if there are any problems with the integration.
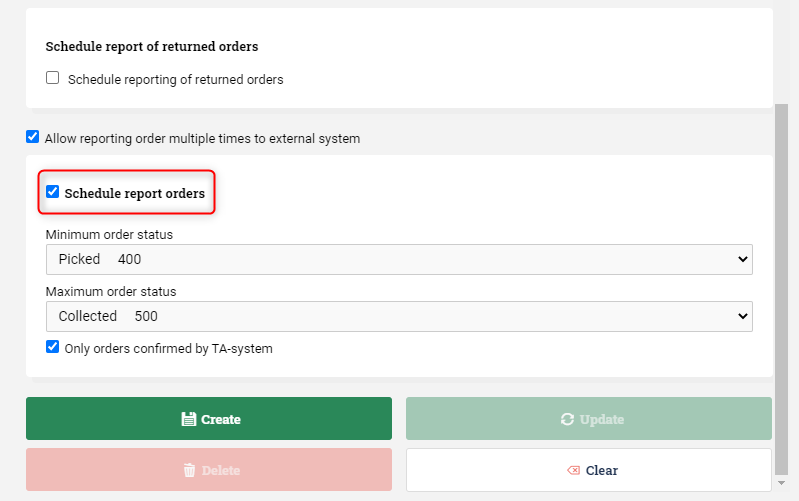
Once done, click Create and the integration will automatically be scheduled to run every 15 minutes. For an administrator, it is possible to manually trigger an integration run in the midst of a 15-minute interval by going to Administration ⇒ Custom Import, choosing the integration from the dropdown list and clicking Import.