Automatic printing via the Ongoing Printer Service
Table of contents
Introduction
If you want Ongoing WMS to be able to trigger automatic printouts on printers in your warehouse, the Ongoing Printer Service needs to be installed on one of your servers. The Ongoing Printer Service is a small service which polls Ongoing WMS for files to print. When the service has retrieved a file, it will send it to the specified printer.
This guide covers the installation of the Ongoing Printer Service and provides a brief description of how it works. To read more about how printing in Ongoing WMS works, please see the section on printing in Ongoing WMS. For help with troubleshooting an already installed printer service (along with frequently asked questions), please see the section on troubleshooting the printer service.
Video on triggering a printout
Video how to install the printer service
Description
The Ongoing Printer Service uses the API of Ongoing WMS. The service will poll the API, checking if there are any files to print.
The API returns a list of files to be printed, which the service adds to the Windows print queue. Which printer is used is determined by settings in Ongoing WMS.
The service writes errors to the Windows Event Log (EVT). If an error occurs, the service will pause for one minute before resuming.
By default, the service will not log the printed files to disk. If you want the service to log the files, you have to change the configuration. Note that if you log the printed files indefinitely, you may run out of disk space.
Prerequisites
The server where you intend to run the Ongoing Printer Service needs to fulfill the following:
- At least 8GB RAM is recommended.
- It needs to run Windows and have the .NET framework installed.
- The Windows user must be a local administrator account and cannot be a Microsoft account.
- It needs access to the printers which you intend to use.
- It needs reliable internet access. In particular it needs to be able to establish connections to ports 80 and 8084.
Best practices
From an administration perspective, it is advisable that the server which runs the Ongoing Printer Service should only run Ongoing Printer Service and not handle other tasks as well. In the long term, it is easier to administrate a fleet of servers if each server is only dedicated to a single task.
If you do not wish to dedicate an entire physical computer to just the Ongoing Printer Service, you can run the service in a virtual machine.
Installation
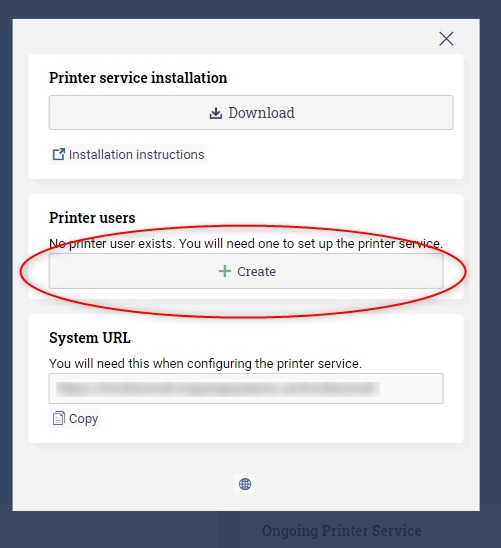
Log into Ongoing WMS and go to Administration ⇒ Printer settings. Click on Install printer service.

Create a new printer from the dialog. Click Create and fill in your email. Make a note of the username and password which was generated.
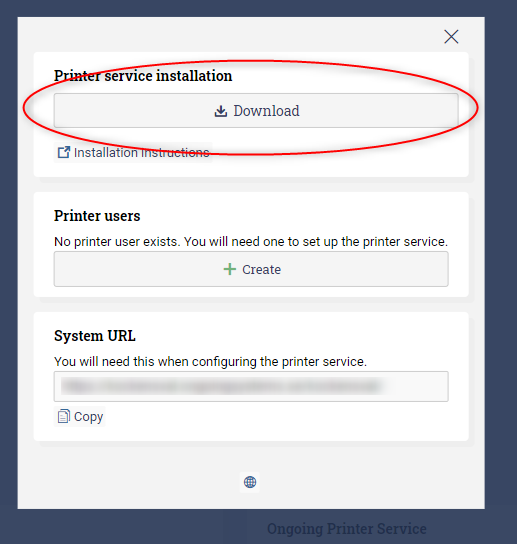
Then click Download to download the installer file. You can also download the installer here.
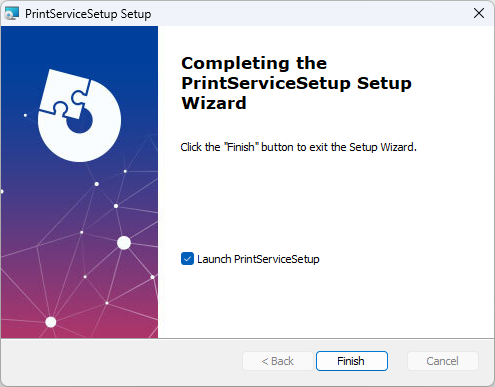
Run the installer and follow the instructions. Make sure that “Launch PrintServiceSetup” is checked.
The configuration application (WMS.ClientInstaller.exe) will start. Enter the the username and password which were created earlier (when you clicked Create new Ongoing Printer Service user).
Then enter the URL to your Ongoing WMS.
You can start the application to reconfigure or remove the service at any time.
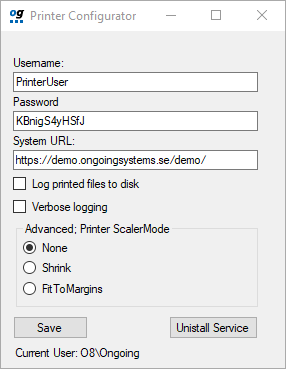
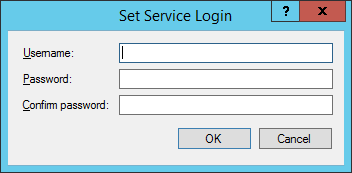
When you press Save you will see a popup asking for Service Login if the service is being installed for the first time or was previously removed.
Enter your workstation login credentials, the same ones you use to log in to Windows. If you are unsure about what username to use it is displayed at the bottom of the window in the previous step after "Current user: ". In the example above the username should be "O8\Ongoing".
The application will close if the installation succeeded.
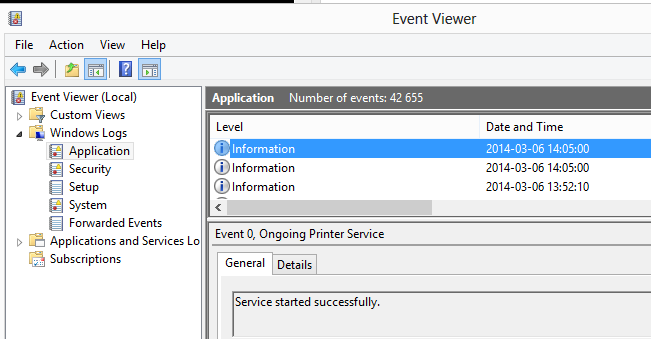
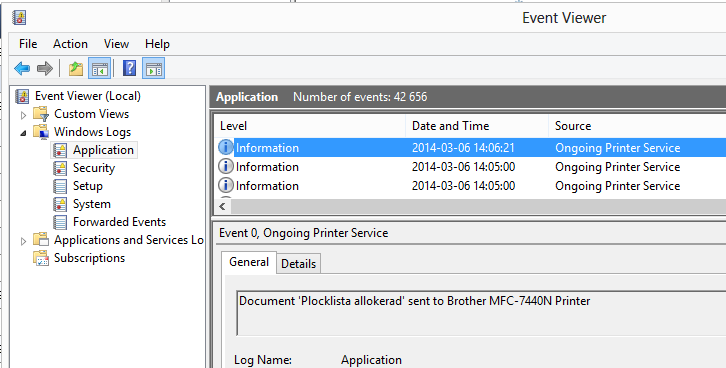
In the Event Viewer you can see that the service has started:
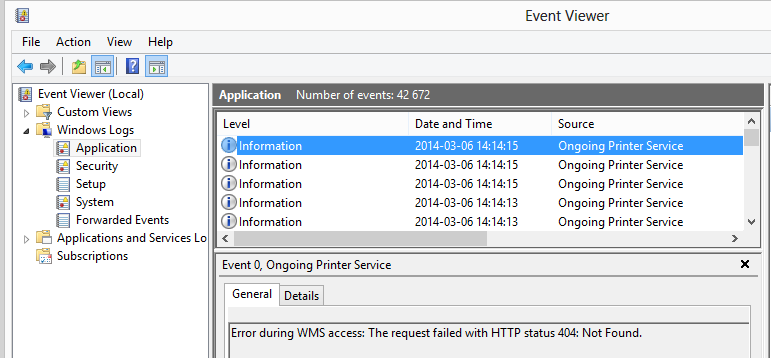
You can also see if any errors are reported:
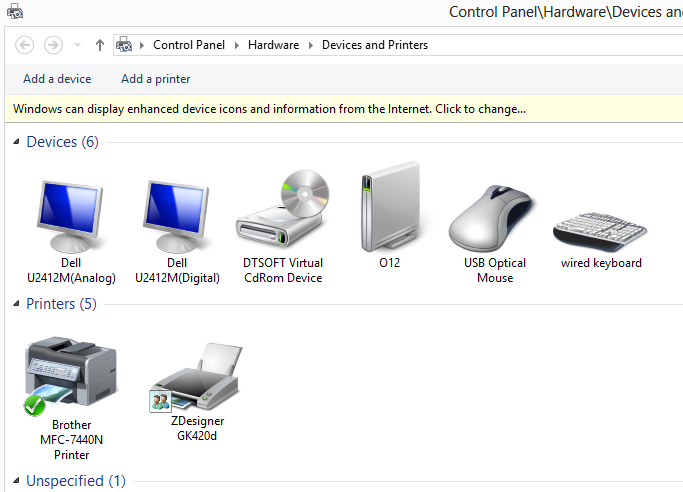
The printers which you intend to use may be a network printers connected to another workstation rather than the workstation you intend to run the printer service on. However, the printers must still be installed on the same workstation as the printer service. The printers are identified by name. Which printer is used for which report is configured in Ongoing WMS. If no configuration is made for a report, then the default printer will be used.
Redundancy
If you are concerned that your print server will be a single point of failure without any redundancy, you can install the Ongoing Printer Service on several servers. Each instance of the service will handle some portion of printouts. If one of the servers should fail, the other servers will pick up the slack.
Do you have many printers in your warehouse? Printing requires more performance than you might think. If you are using more than 20 different printers in your warehouse it is recommended to have at least two printer services. They can then balance the load and you quicker get the printouts to your packing stations.
Printer Settings
Find connected printers
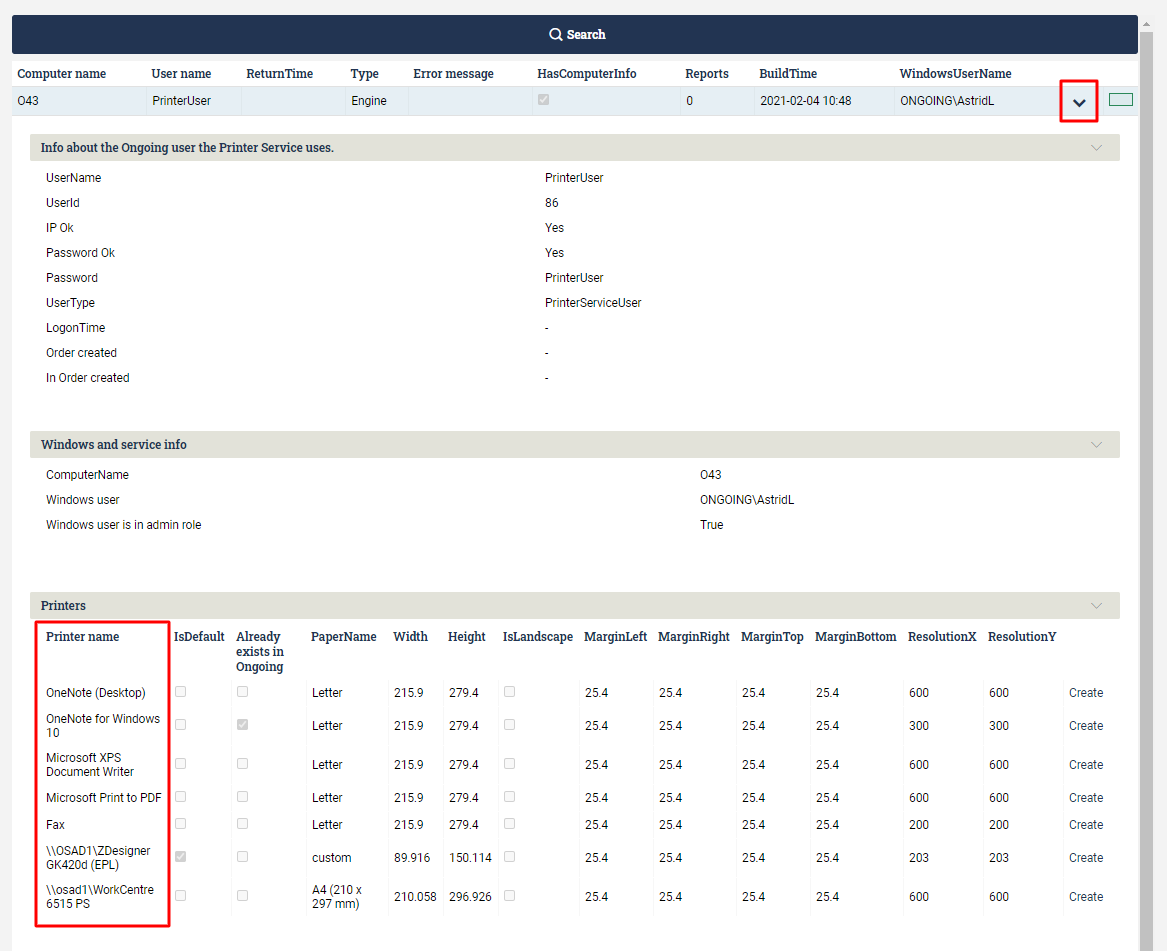
Before you start the set up you should make sure your printer service is connected and that it has access to all the printers you want to use. Go to Connected printer services from Administration ⇒ Printer settings.

You will find all connected printer services. If you press select you can see what printers the service has access to. The Printer Name will be used as the printer path in the next step.
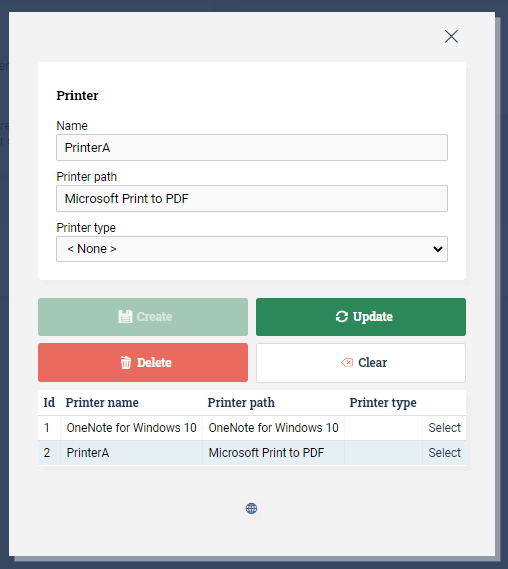
Add printers in Ongoing
If you want to use printer types, e.g. for separating you have to create them before you add your printer. To add a printer, go to Administration ⇒ Printer settings and press “Printers”:

Add workstations
Workstations can be selected when a user logs in to Ongoing. To activate this function, contact your contact person at Ongoing. Add the workstations that should be available to select at log in under “Workstations”. Once you have added workstations you can use this as a parameter when setting up the printer settings. Workstations do not have to be set up to match a specific physical device, you can also use them as a group. You can e.g. set up a workstation called Workstation Group A and all users in zone A should log in as Workstation Group A. You can then set all devices logging in as Workstation Group A to print at printer A.
Create a setting
To create a setting go to "Create new printer setting" from Administration ⇒ Printer settings.
You will create at least one setting per printer that you want to use. The setting parameters are set to specify when that printer should be used. You can set up multiple settings for a printer to cover all cases when the printer should be used. You might want to set up a default setting, valid for all printer types, users, workstations and reports so that if none of your settings will suit a specific case the report will be printed on that printer, see example below.
- Printer: Select the printer you want to set up a setting for.
- Priority: Priority is used to select which setting should be used if more than one setting is setup for a specific case. The setting with the lowest priority will be used.
- Printer type: select if the setting should be used for all or some specific printer type.
- All goods owners: select if the setting should be used for all or some specific goods owners.
- All users: select if the setting should be used for all or some specific users.
- All workstations: select if the setting should be used for all or some specific workstations.
- All reports: select if the setting should be used for all or some specific reports, e.g. to printet labels on label printers.

If a user has not selected a workstation when logging in, setting id 8 will be used and the report will be printed on Printer A. Setting id 8 will be valid for all cases, but since it has the highest priority number it will only be used if there is no other setting matching the setting criteria.
Users logged in as Workstation A will be printed on Printer A (setting id 5) and users logged in on Workstation B will be printed on Printer B (setting id 6) for all report except “Inbound Note”: This scenario fits in to both setting id 6 (Workstation B, all reports) and Setting id 7 (Workstation B, report “Inbound Note”). Since setting id 7 has a lower priority number, this setting will be selected, and the report will be printed on printer A.
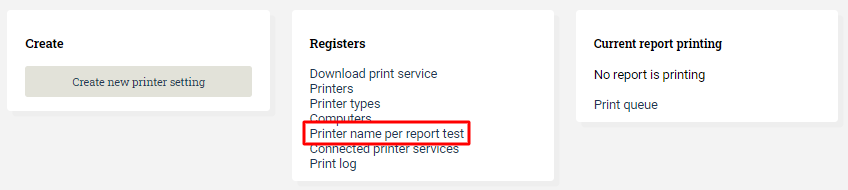
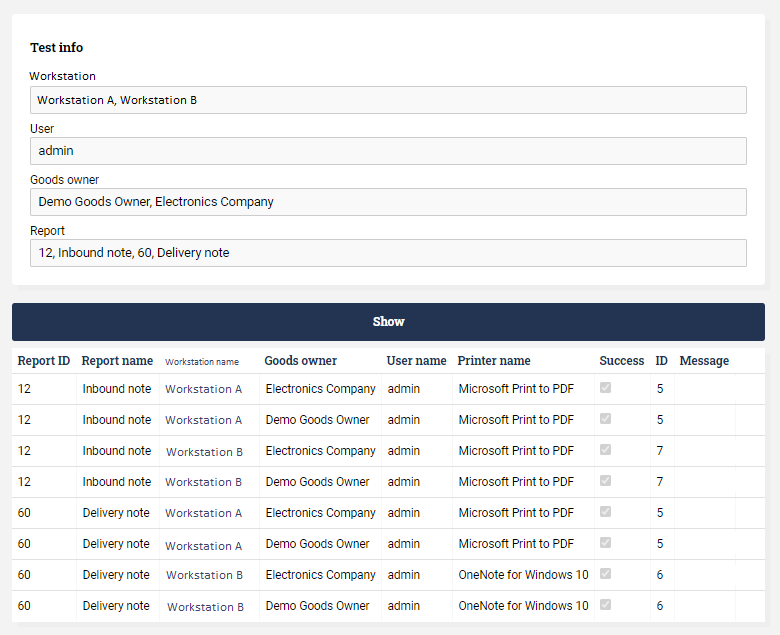
Test your settings
You can run a test to see what printer will be used for a specific case by using the “Printer name per report test.”
Automatic printouts can now be triggered via actions. To set up a trigger for the automatic printing service, please talk to your contact person at Ongoing.