Consolidate multiple orders
Table of contents
Introduction
To decrease handling cost, the amount of packages and often the freight cost, orders can be consolidated into so called shipments in Ongoing WMS. If you need an extra level of consolidation, shipments can be consolidated into trips. There can be different setups to arrange these grouped deliveries depending on customers and process, but the common cases are described below. These include multiple orders to the same recipient, split shipment for international shipments and combining the two previous.
Consolidated orders to the same recipient
If there are more than one sales order to be sent to the same recipient, it is usually more cost-effective to send these orders in the same shipment. Either you can consolidate into one shipment before picking or you can do it after picking. Both approaches are described below.
Picking multiple orders to the same recipient at once
The most effective process is to pick and pack those grouped orders together, with scanning and an installed Ongoing printer service, which is described below.
-
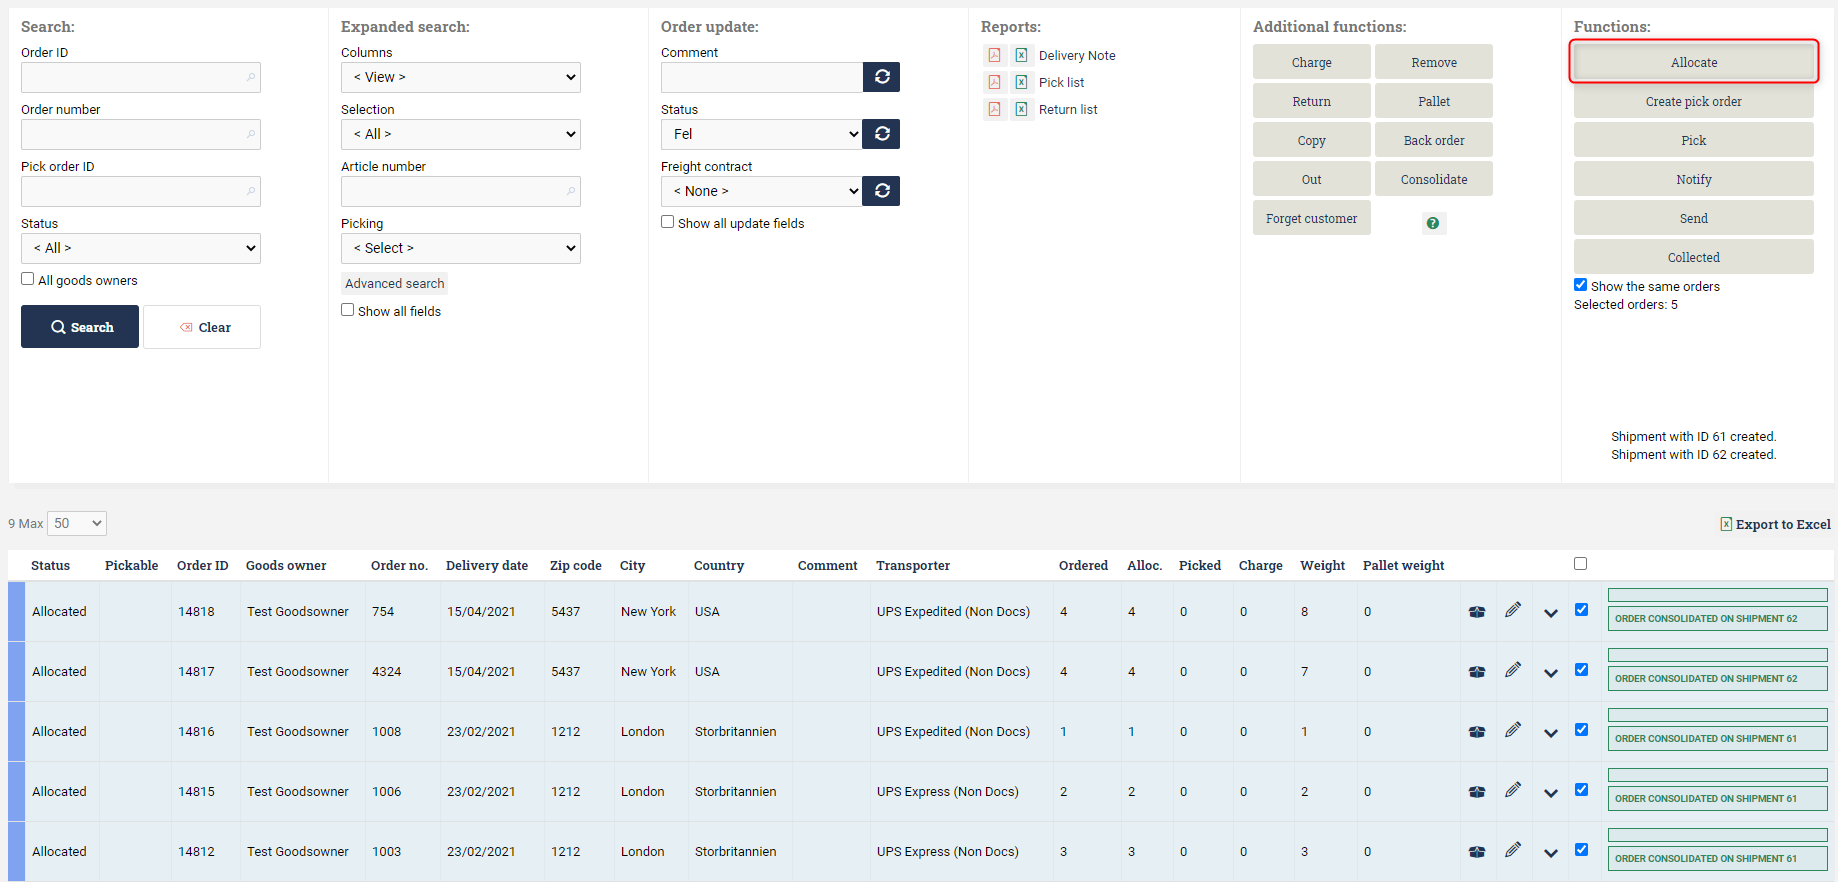
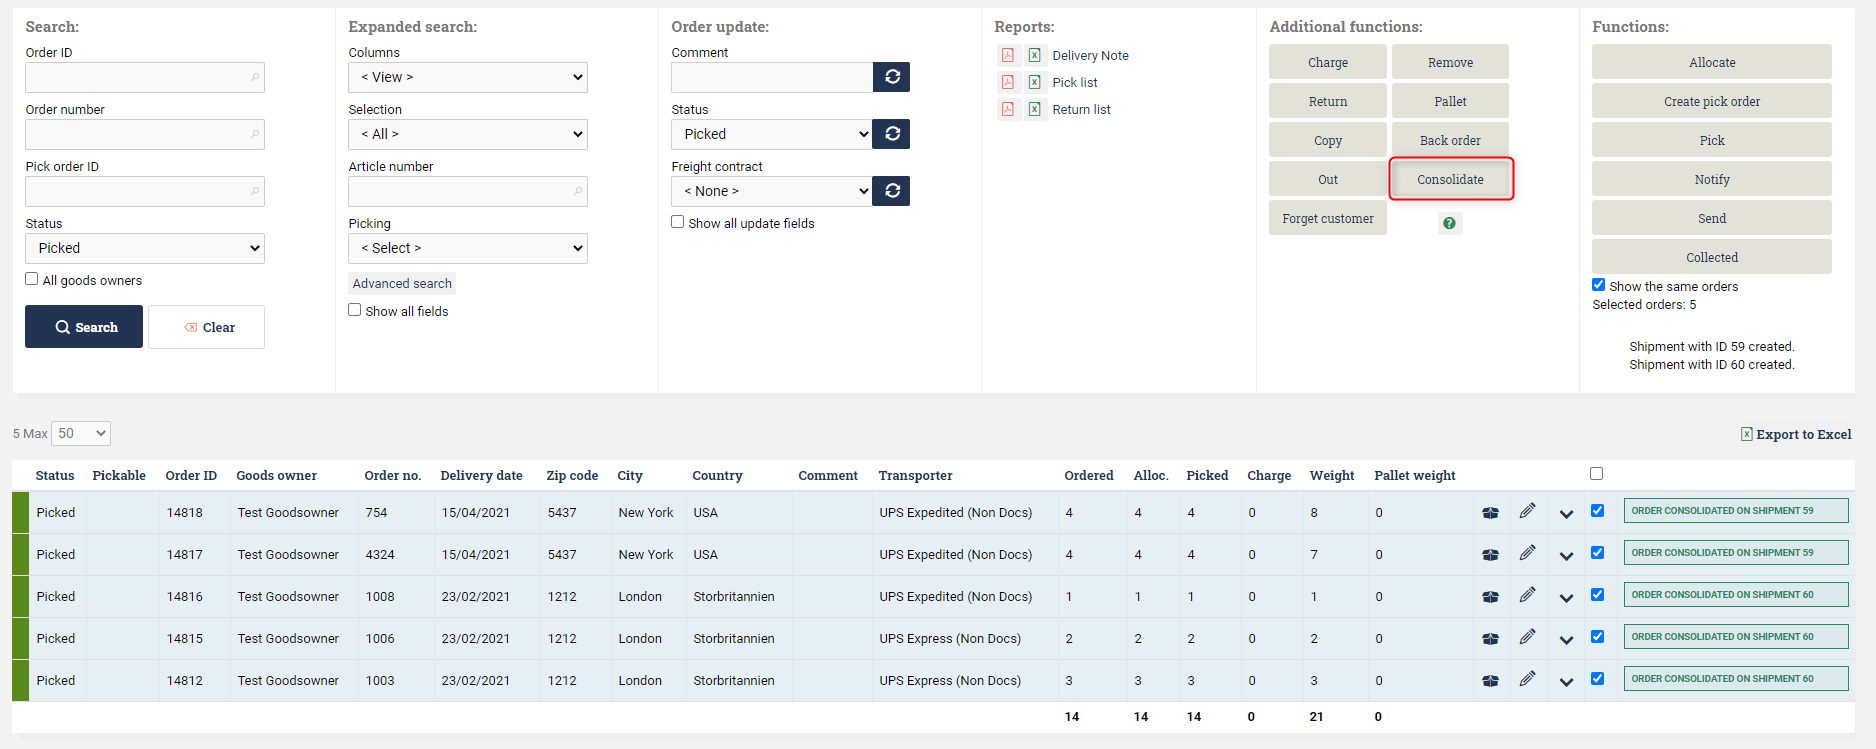
Mark all orders that should be picked and click Allocate. There is no need to filter and mark only for one separate shipment at the time, the different orders will be grouped into shipments based on the customer and address.
Note that for this to work properly you need to adjust the settings for the Allocate button to also run consolidation. There is always a button called Consolidate under Additional functions which only consolidates the orders. This is useful if you want to perform the tasks as distinct steps. If you instead want to go fully automatic, please check Automated processes.
Read more about how to configure your consolidation logic.
-
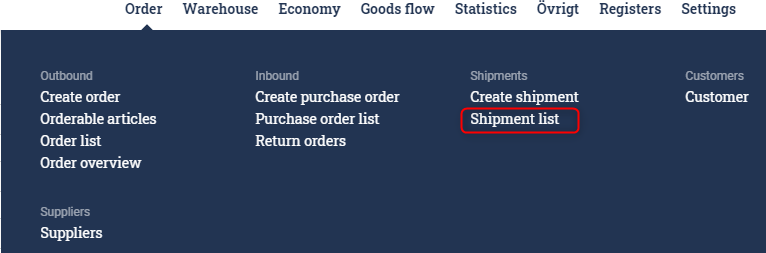
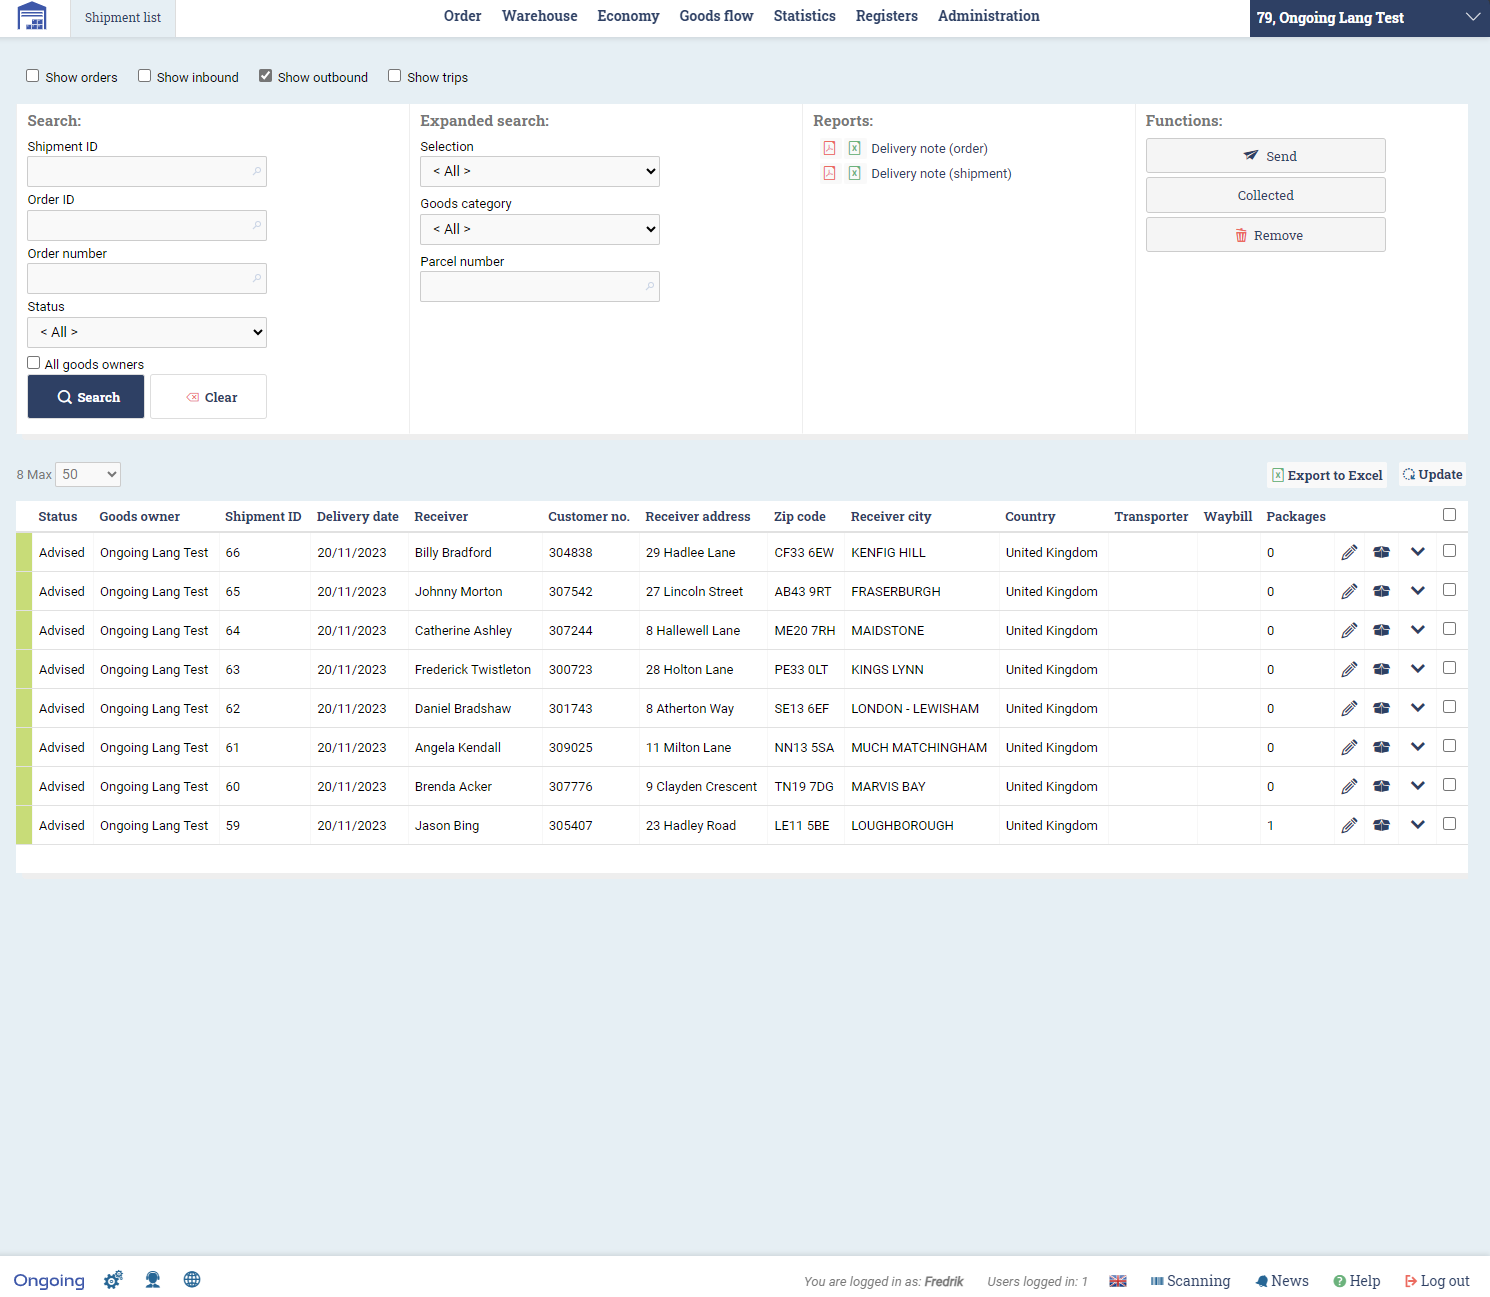
Shipments will be created and can be seen in the shipment list.
-
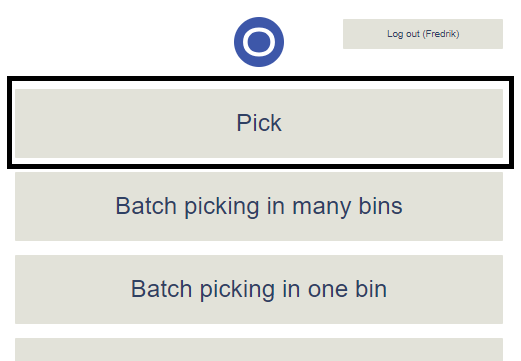
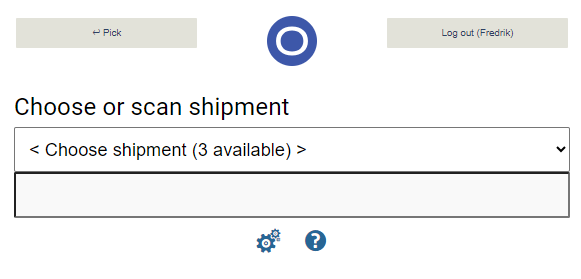
Open the scanning module and choose Pick to start picking the grouped orders.
-
Choose a shipment from the list and scan all products.
Please note that the default alternative is to choose orders. Here you need to adjust a setting for the process to be based on shipments instead. Please refer to changing settings about how to adjust the settings for the page. The setting you should look for is called Controller. Choose the Value StandardCurrentShipmentScanningPalletControlAllBarcodes.
- Now you are guided through the picking process and is asked to scan to confirm your items in a similar way as when you pick one order at a time. Please refer to pick one order at a time for more information about the possible configurations you can make or talk to your Ongoing representative.
-
As a last step in the picking process, add package and transporter information.
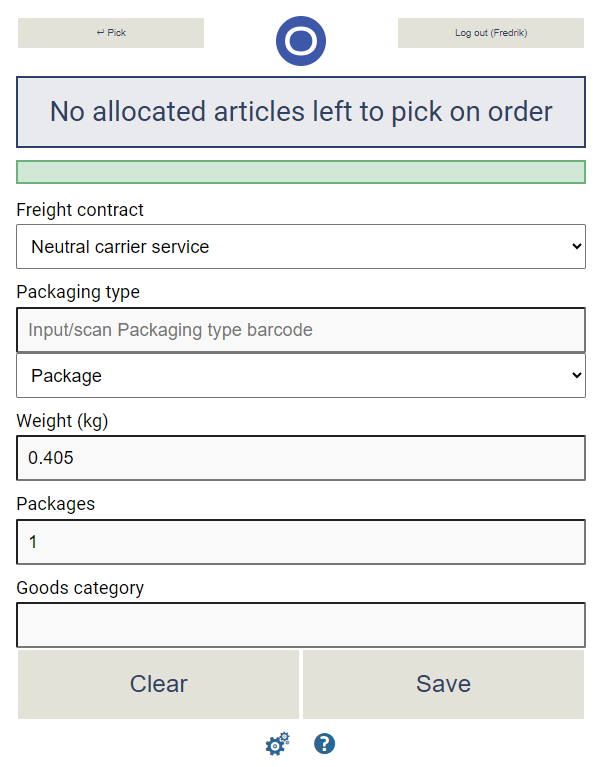
-
When you hit the
Send button, information will be automatically transferred to the shipping platform, the shipment will be booked and a label fetched by Ongoing WMS. If you are using Ongoing printer service, a label will be directed to your printer. Otherwise, return to shipment list and download and/or print your label.
Picking orders separately and consolidate after picking
In some cases, there is need to keep the orders separate at the picking and then group them just for sending.
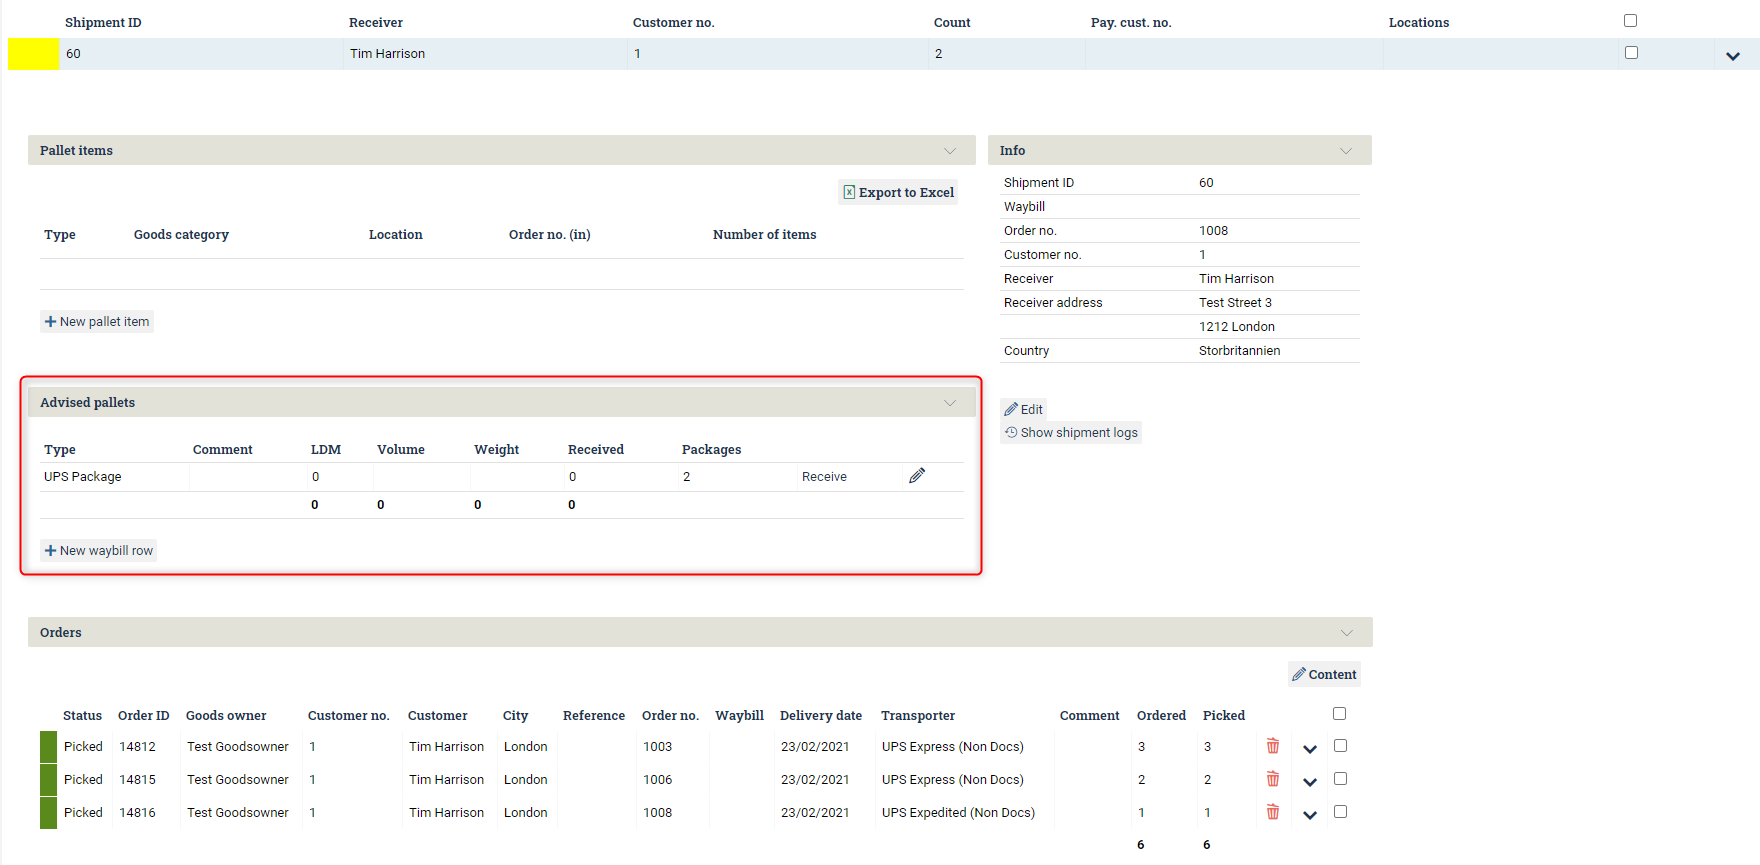
Then it is possible to consolidate the orders after the picking and then add a waybill manually on the shipment.
Create or edit a shipment manually
Above examples make use of the automatic consolidation logic to distribute the orders onto shipments. It is also possible to create your shipments manually and then manually add the orders onto the shipments. This can be used when you, for any reason, wants to plan your shipments yourself. It can also be used when you want to detach an order from an automatically created shipment.
Navigate to Order => Create shipment. Here you can add a lot of information about the shipment. The most important information is however the shipment type (incoming or outgoing), the sender/receiver and the outgoing and incoming dates. Once you have created your shipment, you will be redirected to the shipment list.
Navigate to Order => Shipment list. Select a shipment by click the arrow down symbol. The shipment view will be expanded to display the details about the shipment. Among other details you see the list of orders. On the top right of that list there is a link called Contents. If that link is clicked, you will get the possibility to add and remove orders from the shipment using a view which displays all orders to the left and orders on this particular shipment to the right.
Split shipment
Another way to use the consolidation feature is for "split shipment". This is used to make group deliveries of orders to the same country, which will decrease the administration with customs declarations and might also reduce freight costs. The shipments are sent to a terminal in the country of recipients and there the different orders are split and sent to the different final addresses.
Depending on the carrier, different terms may be used to describe the same feature:
- PostNord call it Split Shipment
- Bring call it Bulk Split
- UPS have their World Ease service
Consult with the documentation for your shipping platform and talk to your carrier before starting to use this feature. Not all carriers and shipping platforms have support for this feature.
A typical workflow for split shipments is described here:
- Allocate and pick all orders that should be sent.
- When picking is finished, an address label is printed for the order with the customer as receiver and the foreign terminal as sender.
- If there is an open shipment to the country, the order is added. Otherwise, a new shipment is created.
- When a pallet is filled with enough order packages, the pallet information of the whole shipment is added, and all freight documents are printed to send the pallet to the terminal.
Consolidate one extra time
Sometimes you require another level of consolidation for your orders. This is what trips in Ongoing WMS are used for. Orders are consolidated onto shipments which in turn can be consolidated onto trips.
To clarify we discuss this example: Say you have your customers continuously placing orders to you. When you start picking you often pick for several sales orders at once. These are consolidated prior to picking on a shipment to get when efficient pick list. The picker picks the whole shipment at once and finalizes and sends it to the shipping platform. The picker places the shipment onto a sort location together with other shipments to Norway from Sweden. All the shipments on the sort location are then consolidated to using the trip feature in Ongoing WMS and shipped in one transport through the customs.
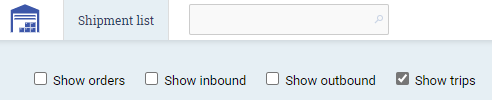
You reach the list of trips in on Ongoing WMS by navigating to Order => Shipment list and checking the checkbox named Show trips at the top of the page. You can also choose to see orders and shipments at side by side with the trips by selecting multiple alternatives.
Create a trip
In Ongoing WMS, you can either create a trip manually or continuously create new trips and fill them with orders when you are consolidating orders onto shipments automatically. If you want to do this automatically, you need to get in contact with Ongoing.
Manually create a trip
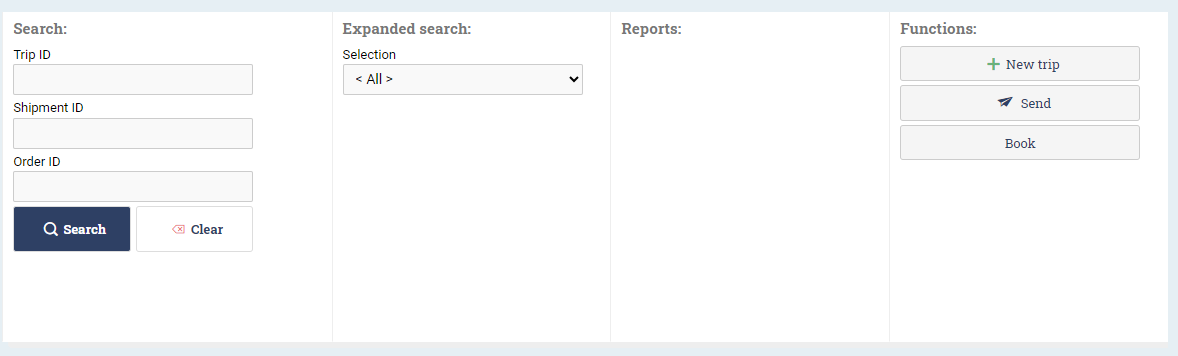
If you want to create trips manually you head to the shipment list and show the trips. From here you can create, view, edit and work with your trips. To create new trips hit the button called New trip in the upper right corner.
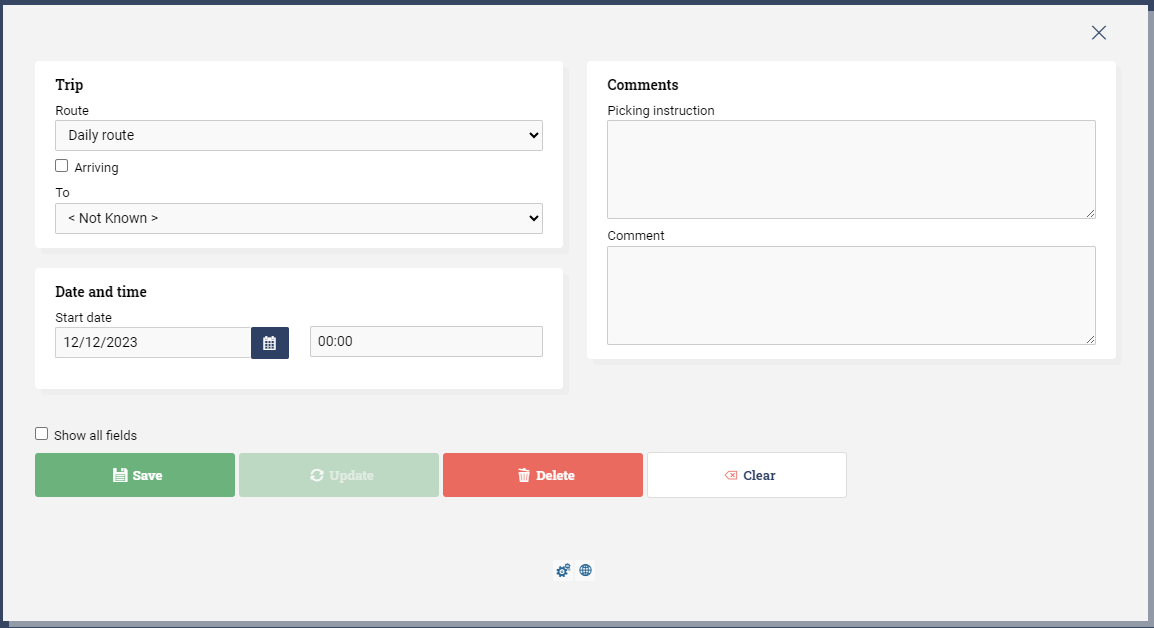
A window will be shown. Add your trip information and save the trip.
Manually add shipments to a trip
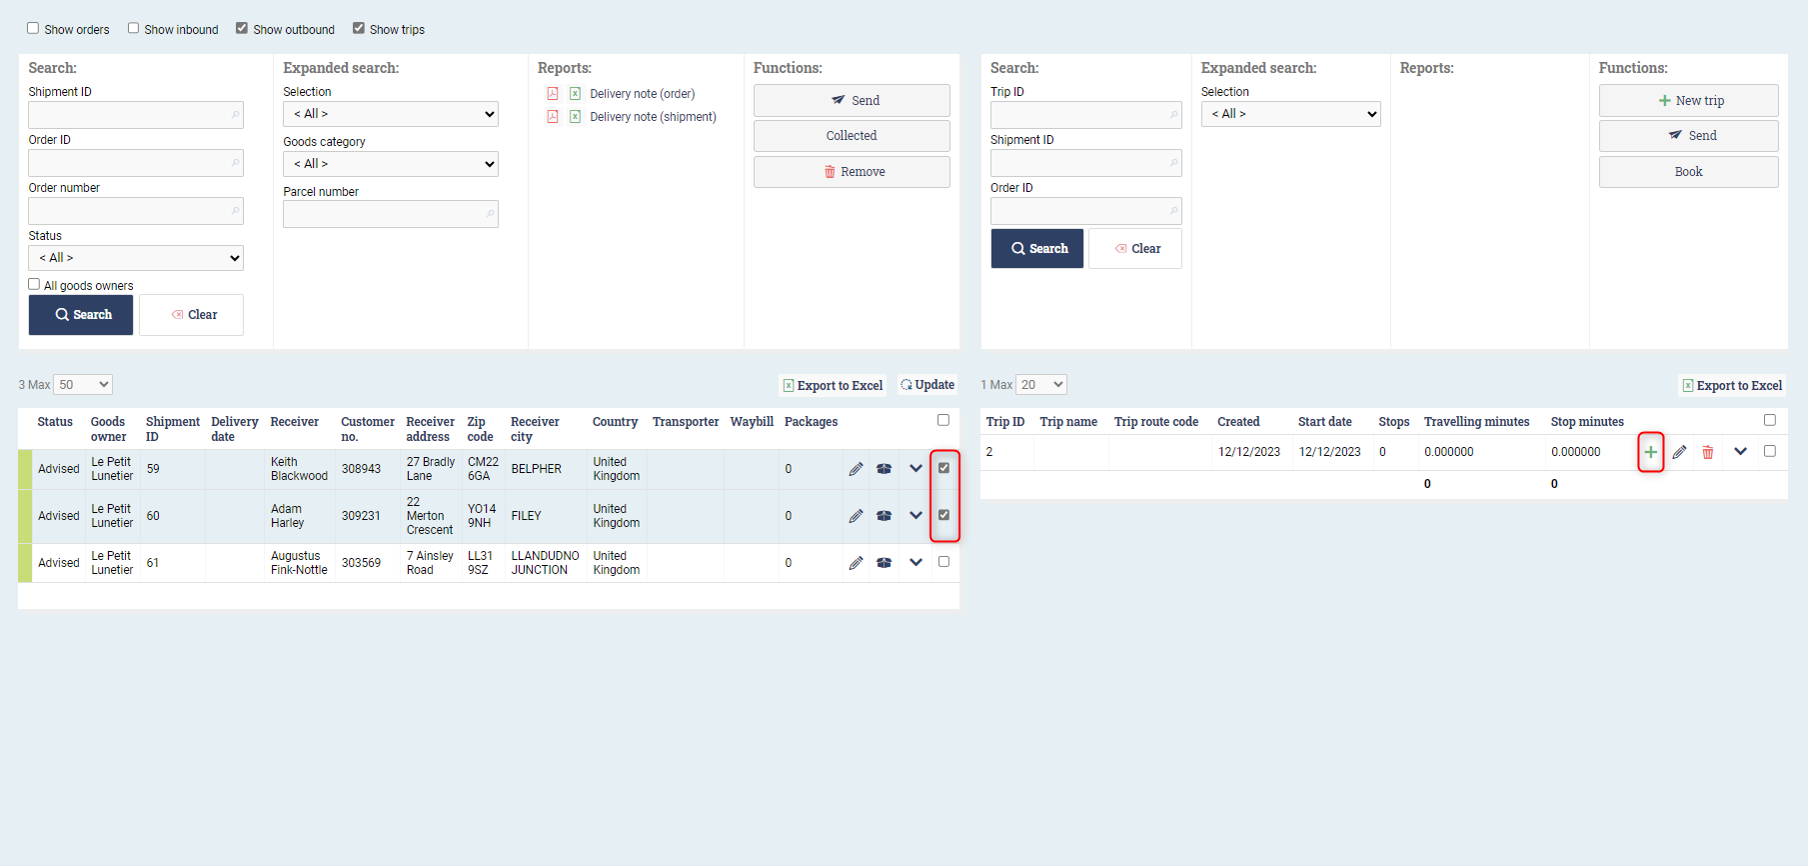
Once you have created your trip it is time to add shipments to it. Select one or many shipments (to the left in below screenshot) and hit plus icon (to the right in the screenshot.
Configure automatic consolidation logic
You can adjust the automatic consolidation logic by adjusting the setting Consolidator which is located under the order list (Order => Order list). There are some premade choices to choose from, including one shipment per country or one shipment per unique address. If you have specific needs or want to consolidate in multiple levels, please consult with your representative at Ongoing.